
Car Signs for Service Vehicles: Best Practices for Plumbers, HVAC & Electricians
Maximize Brand Visibility with Car Signs
Service vehicle signs are physical graphics applied to vans, trucks, and cars to advertise a contractor’s services while delivering practical information to customers. These mobile advertising elements combine visual branding, contact details, and required regulatory markings to build trust, generate inbound leads, and protect the vehicle surface. This guide explains how different formats—vehicle wraps, partial wraps, vinyl lettering, and car magnets—work, why they increase impressions for plumbers, HVAC technicians, and electricians, and how to stay compliant with local requirements. You will learn design principles for legibility at speed, trade-specific recommendations for materials and messaging, the regulatory checklist every contractor should follow, and installation and maintenance routines that extend graphic lifespan. Each H2 section breaks down practical steps, includes comparison tables and checklists, and offers tactical messaging templates that convert impressions into measurable leads. Throughout the article we integrate relevant terms such as service vehicle car signs, contractor car magnets, hvac car signage, vehicle wraps for plumbers, and vinyl lettering for service vehicles to help you apply modern mobile advertising strategies for trade businesses.
What Are the Most Effective Types of Service Vehicle Signs for Contractors?
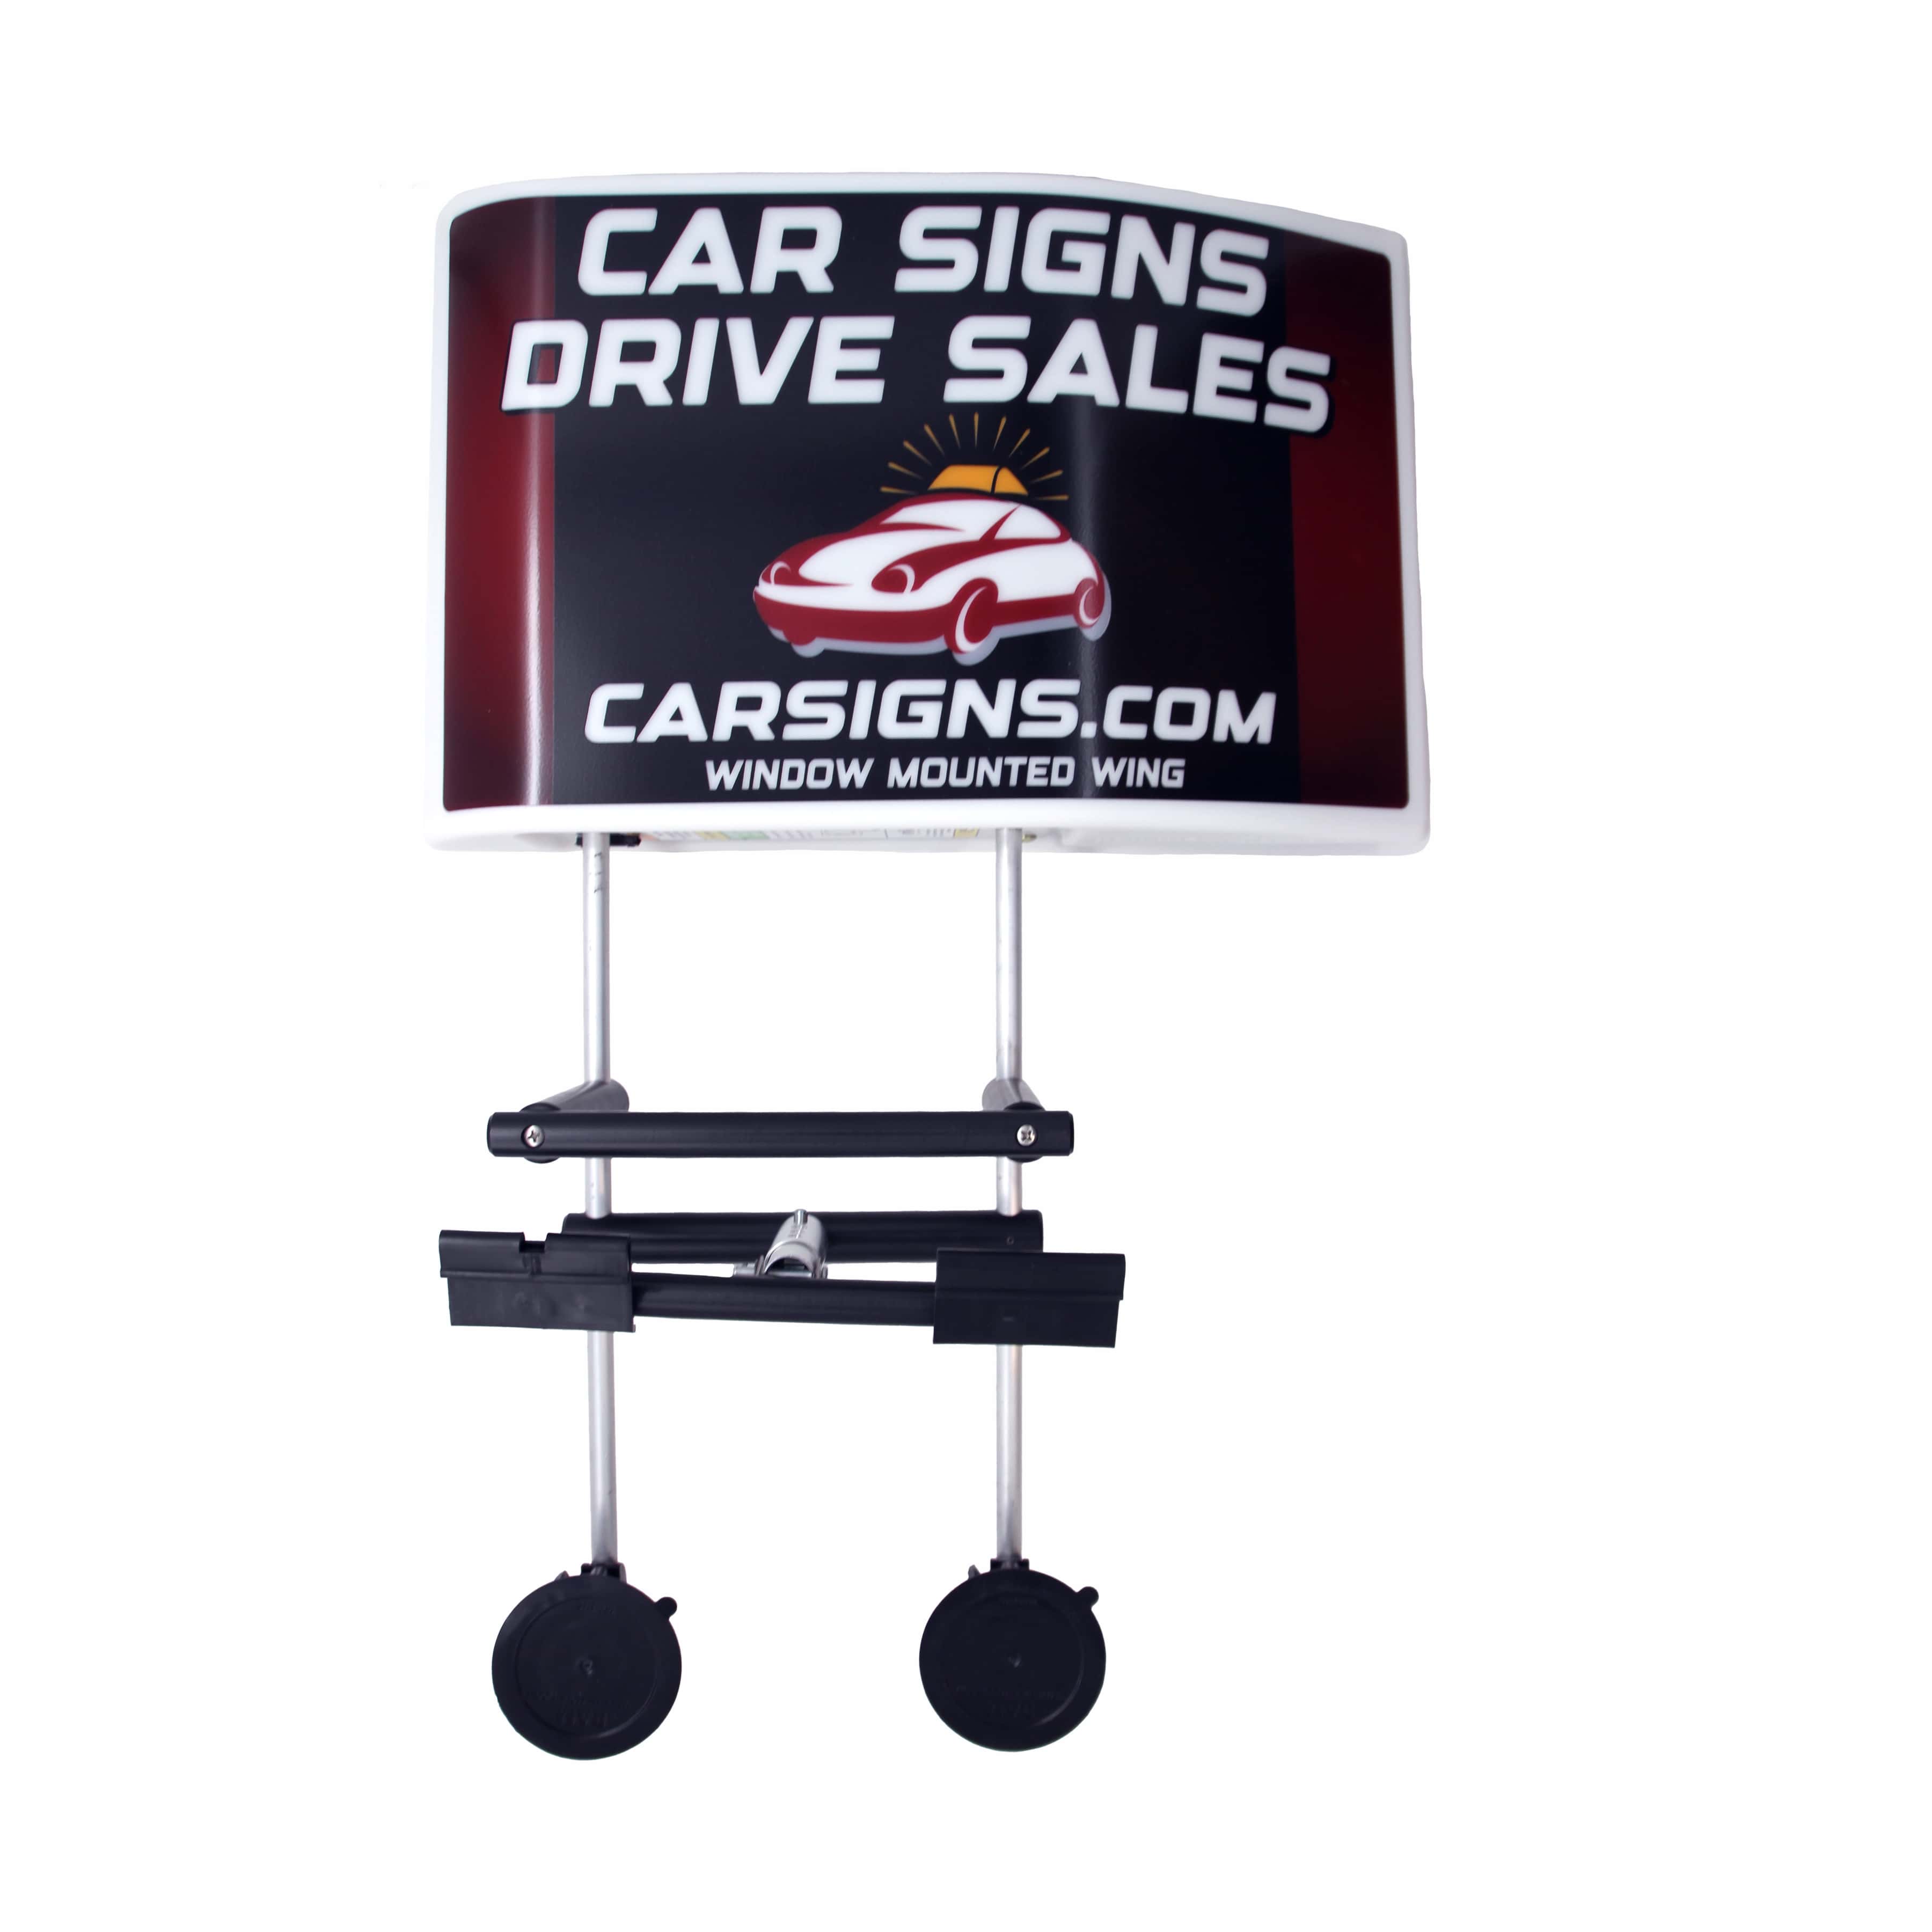
Service vehicle signs include full vehicle wraps, partial wraps, vinyl lettering and decals, and removable car magnets; each type balances visibility, cost, and permanence in different ways. Full vehicle wraps use cast vinyl to cover most of a vehicle surface and act as a moving billboard, producing high impressions per mile through bold graphics and consistent brand exposure. Partial wraps cover select panels for a similar visual impact at lower cost, while vinyl lettering and die-cut decals provide a durable, low-profile solution for clear contact details and compliance markings. Car magnets offer portability and temporary branding for shared or rental vehicles, enabling flexible campaigns without permanent adhesion. Understanding these formats helps contractors match messaging, budget, and vehicle usage to the right solution for maximum return on mobile advertising and long-term asset protection.
Vehicle graphics work by increasing brand recall through repeated exposure and by signaling trust with professional visuals, which leads to more inbound calls and web traffic for trade services. The next subsections explain how wraps function as mobile billboards and when magnets are the smart choice for trade fleets and solo operators.
How Do Vehicle Wraps Enhance Mobile Advertising for Plumbers, HVAC, and Electricians?
Vehicle wraps transform a service vehicle into a high-frequency marketing channel by combining full-coverage graphics with high-contrast typography to maximize impressions at a glance. A full wrap uses cast vinyl that adheres across panels, creating a cohesive brand image that is memorable to drivers and pedestrians; this mechanism increases recall and perceived professionalism for plumbers, HVAC technicians, and electricians. Wraps also provide protective benefits for factory paint by shielding surfaces from chips and UV degradation, which lowers long-term fleet maintenance costs. For trade-specific selection, full wraps suit large fleets seeking consistent visibility while partial wraps or panel graphics work well for mixed-use vehicles or operators who prefer lower upfront cost and easier updates. Choosing between full and partial wraps depends on expected mileage, targeted service area, and campaign goals, leading naturally to decisions about materials and installation methods.
What Are the Benefits and Use Cases of Car Magnets for Service Vehicles?
Car magnets provide a removable, low-cost option for displaying company identity and contact information on side doors and panels for contractors who need flexibility. Magnets attach to clean metal surfaces and allow quick removal for personal or off-shift vehicle use, making them ideal for employees who use their own vehicles, seasonal campaigns, or test-market promotions without committing to permanent graphics. The main limitations are potential edge lift at high speeds, debris trapping that can scratch paint if left in place too long, and reduced visibility compared with full-wrap graphics in some lighting conditions. For short-term campaigns, rental vehicles, or multi-driver fleets where uniformity is unnecessary, magnets deliver immediate brand presence with no adhesive residue and minimal installation time. Proper handling and regular removal to clean underneath help preserve both the magnet and the vehicle finish, which leads into best practices for installation and maintenance.
How to Design Professional and Impactful Vehicle Graphics for Service Trades?
Designing effective vehicle graphics requires a clear hierarchy of information, legible typography sized for viewing distance, and color contrast that prioritizes essential contact elements. At the core, designs must answer three questions in under a second: who you are, what you do, and how to contact you; this mechanism converts impressions into calls or website visits by minimizing cognitive load. Good vehicle graphics follow measurable rules for letter height, stroke weight, and spacing so messaging remains readable when the vehicle moves. By balancing logo placement, service descriptions, and trust signals in a prioritized layout, contractors increase the chance that viewers will remember the brand and act. The following subsections provide concrete legibility metrics and color and font guidance to implement these principles effectively.
Design choices influence both brand perception and functional legibility, so designers should marry aesthetic choices with practical readability targets to maximize impact on the road.
What Design Principles Improve Legibility and Brand Recognition on Service Vehicles?
Legibility on moving vehicles depends on contrast, minimum lettering height, and uncluttered composition to ensure rapid recognition and recall. Use high-contrast palettes—light text on dark backgrounds or vice versa—pairing typefaces with open x-heights and simple letterforms to maintain clarity at distance; for primary phone numbers aim for minimum letter heights that read at typical passing distances, and keep line lengths short to prevent scanning fatigue. Reduce visual clutter to three primary elements: logo, service statement, and contact line, which improves recognition and speeds comprehension for potential customers. Consistent margins and negative space help each element breathe while emphasizing the CTA, and durable materials with UV-stable inks preserve contrast over time. Applying these rules systematically ensures that visual hierarchy delivers both branding and functional communication across different vehicle types.
These legibility rules naturally lead into specific color and font choices that reinforce trade signals and improve instant comprehension on roads and job sites.
How Do Color, Font, and Visual Hierarchy Influence Contractor Vehicle Signage?
Color and font choices communicate trust, urgency, and professionalism while impacting how quickly viewers decode the sign’s message; for contractors, certain palettes reinforce industry expectations and increase perceived reliability. Use color to signal trade—calmer blues and teals for plumbing and trust, bold reds or oranges for urgent services—but prioritize contrast over subtlety so text remains readable at speed. Select sans-serif fonts with strong x-height and medium-to-heavy weights for primary contact elements, and reserve decorative or script fonts for logos only to avoid legibility loss. Visual hierarchy should place the phone or primary CTA in the most prominent location with the largest type, followed by the service descriptor and then secondary elements like license numbers or website. Properly ordered visual hierarchy reduces cognitive load and increases the probability that a passing observer will retain the key contact information long enough to act.
What Are the Key Regulations and Compliance Requirements for Plumber Van Signage?
Contractor vehicle signage must balance marketing needs with regulatory obligations such as displaying business name, license or contractor numbers, and any transport-related DOT markings where applicable; these legal requirements vary by jurisdiction and can affect placement and minimum letter sizes. Core compliance elements commonly include the company name or DBA on the vehicle’s exterior, the contractor license number when required by licensing boards, and DOT or weight markings for commercial vehicles crossing regulatory thresholds; failure to display mandated information can lead to fines or permit issues. Fleet managers and independent contractors should verify local vehicle code requirements before committing to permanent graphics to avoid costly rework. The state-by-state differences are broad, so the following table illustrates typical variations and how to interpret jurisdictional rules.
Understanding common regulatory patterns will help installers and fleet managers ensure signage meets both marketing and legal needs without sacrificing design effectiveness.
Which State-by-State Rules Govern License Number and DOT Signage on Service Vehicles?
Jurisdictions often require vehicle markings for licensed trades and commercial vehicles, but specifics—such as the exact label, minimum letter height, and placement—change frequently, which is why contractors must read local statutes or confirm with licensing boards. When interpreting a jurisdictional rule, identify whether the requirement applies to any vehicle used in the trade, only to commercial vehicles over a weight threshold, or specifically to vehicles engaged in regulated activities onsite. Common differences include minimum lettering heights for license numbers, the need to display a city or county business license, and whether temporary magnetic signs satisfy the requirement. Always document the source of the rule and instruct installers to incorporate mandatory markings into the design phase to prevent non-compliance that would require graphic modification.
Below is a representative table that models how common requirements differ; use it as a checklist template rather than a substitute for local verification.
| Jurisdiction | Required Marking | Minimum Lettering |
|---|---|---|
| Typical State Requirement (example) | Company name and contractor license number | 1 inch for license numbers on passenger vans |
| Commercial Vehicle Rule (example) | DOT/MC number and gross vehicle weight | Variable; often 2 inches for DOT labels |
| Local Ordinance Example | Business city/county license display | Local codes may require 1–2 inch lettering |
This illustrative table highlights typical requirement categories and where to verify specifics. Contractors should consult local DMV or licensing authorities to confirm exact obligations before production.
How to Ensure Electrician and HVAC Vehicle Signs Meet Legal Standards?
Electricians and HVAC technicians often face trade-specific labeling requirements such as displaying professional license numbers, certifications for refrigeration work, or additional identification for hazardous materials transport; meeting these standards requires planning during design and installation. Start by compiling a compliance checklist that notes which vehicles require license display, the exact wording mandated, and the minimum type size and placement criteria; present this checklist to the sign designer to include required elements in the layout. Maintain records of the regulatory sources and print-ready compliance specs for installers to reference during application to avoid reworking graphics. For fleet operations, implement an internal audit process where one staff member verifies that each vehicle adheres to both design and legal requirements before release.
Implementing these verification steps reduces compliance risk and ensures signage supports both legal accountability and professional branding, which also simplifies future renewals or updates.
How to Choose Between Vehicle Wraps, Vinyl Lettering, and Car Magnets for Service Vehicles?
Choosing the right sign type depends on budget, permanence, vehicle usage patterns, and desired impression rates; weigh upfront cost against lifespan and expected return on investment to make a practical decision. Full vehicle wraps offer the highest visibility and longest effective advertising life at a higher initial cost, whereas vinyl lettering and decals deliver a lower-cost, durable option that keeps vehicles looking professional without covering paint. Car magnets provide flexibility and the lowest upfront expense but come with tradeoffs in durability and perceived professionalism for high-visibility routes. To make an informed choice, compare cost ranges, expected lifespan, visibility, install/removal time, and best-use scenarios in the table below to match the sign type to your operational needs.
A side-by-side comparison clarifies tradeoffs, leading directly to cost and ROI considerations that inform purchasing and amortization strategies.
Intro to comparison table:
| Sign Type | Attribute | Value |
|---|---|---|
| Full Vehicle Wrap | Cost Range | Higher upfront; amortized over 3–5 years |
| Vinyl Lettering/Decals | Durability | Moderate to high; lasts multiple years with care |
| Car Magnets | Install/Removal Time | Minutes per vehicle; immediate portability |
This comparison underscores how full wraps maximize impressions while decals and magnets prioritize flexibility and lower cost. Use the table to align your budget and marketing goals with the appropriate sign type.
What Are the Cost Comparisons and ROI of Different Commercial Car Signs?
Cost comparisons should include not only the install price but also amortized cost-per-impression and expected lifespan to produce realistic ROI estimates for solo operators and fleets. Typical drivers of price are material quality (cast vs calendared vinyl), vehicle complexity, print resolution, and lamination choices that affect longevity; dividing total cost by projected annual impressions yields a cost-per-impression metric useful for comparing options. For example, a higher upfront cost for a full wrap can pay back faster for high-mileage fleets due to superior impression counts, while magnets may be best for low-mileage or temporary needs because their low initial cost limits downside. When estimating ROI, include maintenance, replacement intervals, and the conversion rate from impressions to leads to present a conservative payback timeline that stakeholders can evaluate.
Understanding these financial tradeoffs informs whether to prioritize visibility or flexibility, which in turn affects material and installation decisions.
How Does Durability and Maintenance Affect Signage Choice for Contractors?
Durability influences total cost of ownership: cast vinyl wraps with quality lamination often last 5–7 years under moderate conditions, while calendared vinyl and decals may last 3–5 years depending on exposure and care. Environmental stressors—UV exposure, road salts, chemicals, frequent high-pressure washes, and rooftop ladder abrasion—accelerate wear and must inform material selection and maintenance planning. Higher upfront investment in premium materials and protective laminates frequently yields lower replacement frequency and better retained appearance, reducing long-term costs despite initial expense. Contractors should evaluate expected vehicle duty cycles and local climate when choosing materials, because a higher-quality wrap can be more cost-effective for high-mileage or harsh-weather operations.
These durability considerations naturally lead into specific installation practices and maintenance routines that preserve appearance and legal compliance over the asset’s life.
What Are Best Practices for Installation and Maintenance of Service Vehicle Signs?
Proper installation and maintenance start with thorough surface preparation, correct environmental conditions for application, and adherence to manufacturer guidelines to prevent premature failures. Clean, degreased surfaces free from wax or contaminants promote adhesion for both vinyl and magnet applications; installers should apply graphics at recommended temperatures and avoid direct sunlight or dust during lamination and curing steps. Decide between professional wrap installers and trained in-house staff based on vehicle complexity and desired quality; hiring experienced installers reduces the risk of bubbles, seams, and early edge lift. The maintenance approach varies by sign type but generally includes regular hand washing with mild detergents, avoiding high-pressure washing at graphic edges, and scheduled inspections for delamination or fading to plan timely repairs.
Below is a practical maintenance mapping that aligns sign type with recommended cleaning frequency and do’s/don’ts to extend graphic life.
| Sign Type | Maintenance Task | Recommended Frequency |
|---|---|---|
| Full Wrap | Gentle hand wash and inspect seams | Weekly to biweekly cleaning |
| Vinyl Lettering | Clean around edges, avoid high-pressure spray | Monthly inspection and spot cleaning |
| Magnets | Remove to clean underneath and dry before storage | Remove after heavy rain/snow; store flat when not in use |
This maintenance table helps fleet managers and contractors establish routines that protect investment and maintain brand presentation between replacements.
How to Properly Prepare and Install Vehicle Wraps, Magnets, and Decals?
Preparation begins with thorough cleaning using pH-neutral cleaners and degreasers to remove contaminants that prevent adhesive bonding, followed by a surface inspection to repair dents or rust that interfere with adhesion. For wraps, professional installers often use heat-assist techniques and wet-apply methods to conform vinyl over curves and seams while ensuring proper tension and edge sealing; partial wraps and decals require careful alignment and pressure rolls to avoid trapped air. Magnets need clean, dry metal surfaces and should be stored flat when not in use to prevent warping; installers should avoid magnet placement over rust or textured panels and should check for edge lift at regular intervals. Whether hiring a pro or applying in-house, follow manufacturer temperature guidelines, allow adequate cure time, and document the process to ensure consistent quality across the fleet.
These installation steps naturally connect to maintenance practices that preserve adhesion and appearance over the graphic’s expected service life.
What Maintenance Tips Extend the Life and Appearance of Vehicle Graphics?
Routine cleaning, protective coatings, and seasonal care significantly influence graphic longevity and appearance retention over time. Use soft cloths or foam brushes with mild detergents, avoid abrasive cleaners and automatic brushes that scrape edges, and rinse thoroughly to remove salts and grime that accelerate vinyl degradation; inspect seams and edges monthly to catch small issues before they grow. Apply UV-protective laminates or ceramic coatings where appropriate for high-UV markets to reduce fading, and schedule professional touch-ups for torn or lifting edges rather than delaying repairs. During winter months remove accumulated road salt promptly and inspect the underside of magnets for trapped moisture; in hot climates park vehicles in shade when possible to reduce heat-related adhesive breakdown. A predictable maintenance schedule combined with prompt repair decisions lowers total ownership cost and preserves the intended marketing impact.
These practical maintenance habits support both design longevity and the consistent brand impression that drives leads from mobile advertising.
How Can Plumbers, HVAC Technicians, and Electricians Maximize Leads Using Vehicle Signage?
Vehicle signage converts impressions into leads by using concise messaging, prominent contact methods, trackable elements, and placement strategies that favor high-visibility panels and frequent sightlines. Messaging should focus on a clear service description, a single primary contact method, and a compelling short CTA that fits the three-element messaging rule—who, what, contact—to reduce decision friction for potential customers. Use trackable phone numbers or unique promotion codes on vehicle graphics to measure attribution and calculate cost-per-lead; these measurement tools turn qualitative impressions into quantifiable marketing performance. Position the most important elements on side panels and rear doors where stationary viewers—such as drivers stopped at lights—have the most time to read and act, and test variations across fleet vehicles to identify the highest-converting layouts.
Implementing these tactics leads to measurable improvements in lead volume and enables contractors to present concrete ROI to stakeholders, which supports investment in higher-visibility graphics.
What Messaging and Contact Information Drive Customer Engagement on Service Vehicles?
Effective vehicle messaging follows the three-element rule: a clear business identity, a concise statement of the primary service, and one prominent contact method that is scannable at a glance. Use short CTAs such as “Call Now” or “24/7 Service” paired with a phone number in the largest type; include a secondary trust line like “Licensed & Insured” or a license number discreetly to reinforce credibility without cluttering the main message. Place the phone number on both side panels and the rear of the vehicle to catch drivers who see the vehicle from different angles and prioritize large type and contrast to ensure readability at typical passing speeds. Testing alternate CTAs and measuring response through trackable numbers or promo codes helps identify the most effective phrasing and placement for converting impressions into service calls.
These messaging rules culminate in real-world case studies that demonstrate measurable ROI from well-designed vehicle branding efforts.
How Do Case Studies Demonstrate the ROI of Effective Vehicle Branding?
Case studies quantify the impact of vehicle signage by comparing baseline lead volume and brand reach before deployment to outcomes after installation, measuring indicators such as calls, booked jobs, and cost-per-lead. A simple before/after framework records baseline monthly calls, installs branding on a test vehicle or fleet subset, and tracks changes in inbound leads and conversions over a comparable period while controlling for seasonality. Key metrics to capture include estimated impressions (from route miles), new customer calls attributed to vehicle ads, conversion rate to paid jobs, and payback period calculated from additional revenue generated. Presenting these results with conservative conversion assumptions helps stakeholders see the tangible benefits of investing in higher-visibility options like full wraps versus lower-cost alternatives, which supports data-driven decisions about future signage investments.
Data-driven attribution closes the loop on marketing spend and informs optimized choices for sign types, messaging, and rollouts across a contractor’s fleet.
- Primary Takeaway: Use high-contrast, prioritized layouts with one prominent CTA to maximize conversions from moving impressions.
- Measurement Tip: Employ trackable phone numbers or promo codes to directly attribute leads to vehicle advertising.
- Implementation Advice: Start with a single test vehicle to measure impact, then scale proven designs to the broader fleet.
These tactical items provide a tested path from design to measurable business outcomes, enabling contractors to adopt vehicle signage strategies that deliver reliable lead generation.


0 Comments
Leave a Comment